I want to add a 'finished at last' to this as it seems to have been a long project with multiple posts but if you are still there after reading them, now you actually get to see the final thing!
 |
| Front of dress |
 |
| Back of dress |
I did have one major problem with this dress when I attached the top to the skirt I realised that my buttonholes were not lined up. In fact they were way out. I may have had a frustrated little cry at this point as I just could not see any way past and I thought it was ruined. The fabric must have slipped and I must have measured wrong but there we are.
 |
| Icky skirt buttonholes that don't match the top! |
I couldn't re-do them without re-making that whole panel of the skirt which would mean a heck of lot of unpicking and detaching of the lining and re-sewing the pleats so in the end I decided I could chalk it up to a learning experience and find some way to go with it. I was thinking of putting a line of buttons down the opposite side on a parallel slant which didn't look too bad when I pinned them on to try. Sam, my boyfriend, then pointed out that it would look like a giant arrow pointing right to the lady parts. Not cool. I considered using clear buttons to make it more noticeable but again he said that he thought they would stand out more, having two different colours on the dress. He them suggested just leaving them as they are (without making them into actual buttonholes as I haven't slit the lining) and using poppers on the inside. This is what I have done, and to be honest, when I have this dress on I really don't notice them that much. Yay!
 |
| Front with successful buttons |
 |
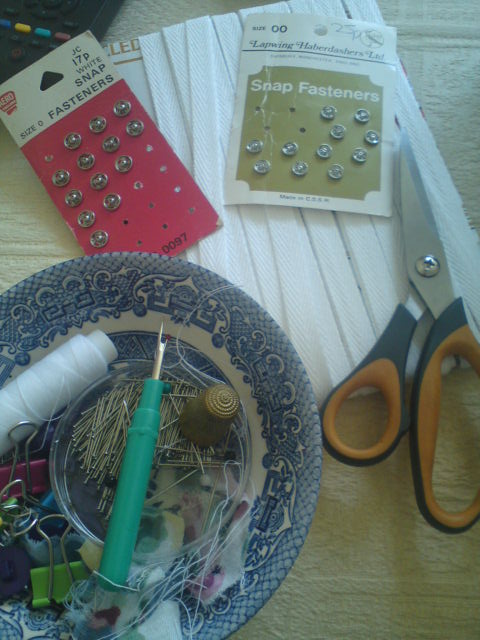
| Hand stitching materials |
After that it was a lot of hand sewing. Hand sewing the lining top and bottom around the waistline, hand sewing all the facings on the buttons and buttonholes, hand sewing the lining to the bound buttonholes and hand sewing some bra snaps. In the reviews of this pattern many people had said that it was difficult to keep it from falling off their shoulders so I used some twill tape and snaps to make a little thingy to hook it on to my bra straps. This means it won't fall off (hopefully) and also stops straps from showing, win win!
 |
| Bra attachment |
Then it was just hemming time and there we go! A few more gratuitous dress shots as I just love it!
 |
| The cute low back |
 |
| Excuse the face, I forgot at this point that the seat here is loose and made a huge creak when I sat down! |
|
Lastly, some picture of my lining which I think shows up the pleats better, they are hard to see in the main print.
 |
| Front |
 |
| Back |
 |
| How cute is this combo of tights and shoes?! Never tried this before, I like it! |
If anyone has any tips for making sure buttonholes and buttons are straight please let me know as I think I need it!


This dress is adorable! I love your shoes, too! I'm really intimidated by sewing clothing, only because I don't want to have to alter the pattern...and I know I would have to for many of them :-(
ReplyDeleteThat was a good save! I guess if I make a dress like that I will put on my buttonholes after it's put together! I love the low back. Gives the innocent floral a nice little alluring touch. And I LOVE the yellow shoes.
ReplyDeleteThank you! They were bound buttonholes so I couldn't really do them afterwards but with ordinary ones I def would. I also love these shoes and wear them as much as I can.
ReplyDeleteVery cute, well done. Love the fabric you chose too.
ReplyDeleteDaisy Dayz Home
Cross-Jones-Photography Home
The Daily Swoon
The Penthouse Clan
great version of t he dress and kudos on all the handwork you did!
ReplyDelete