Showing posts with label Finished project. Show all posts

Saturday, 14 September 2013

Wedding Daze

I love a wedding.  Seriously I LOVE them!  I love all the random crazy little things that brides have sent hours obsessing over like place cards and favours and I love crying at the vows and laughing at the speeches.  Going to weddings reminds me why I am planning my own when I get bogged down in the details, it is the overall air of love, happiness and lifetime commitment which I love most of all, not whether the napkins match the tablecloths.

These are some images I took of Kylie and Matt's relaxed garden wedding in Oxfordshire.  Such a different non-traditional wedding from anything I have ever been too.

Get ready for a picture dump!
Father of the Bride and the Bride 
 Kylie's dress was an original 1950's party dress with gorgeous rhinestones on the bodice which I LOVE.  Her hair and make up was done by her very talented friends which I got to meet for the first time prepping for the wedding.
 Our gorgeous bridesmaid bouquets, made by some of the bridesmaids themselves!
Amy, bridesmaid, and Kylie
 Excitement at arriving at the venue and pulling a 'Kylie face.'  We soon discovered that the bride could not stop giggling through the ceremony, at least until the point she started crying instead!
 The bride and groom.  Look at those happy faces!  What they wore really reflected their personalities and there was so much of 'them' in the ceremony and party.
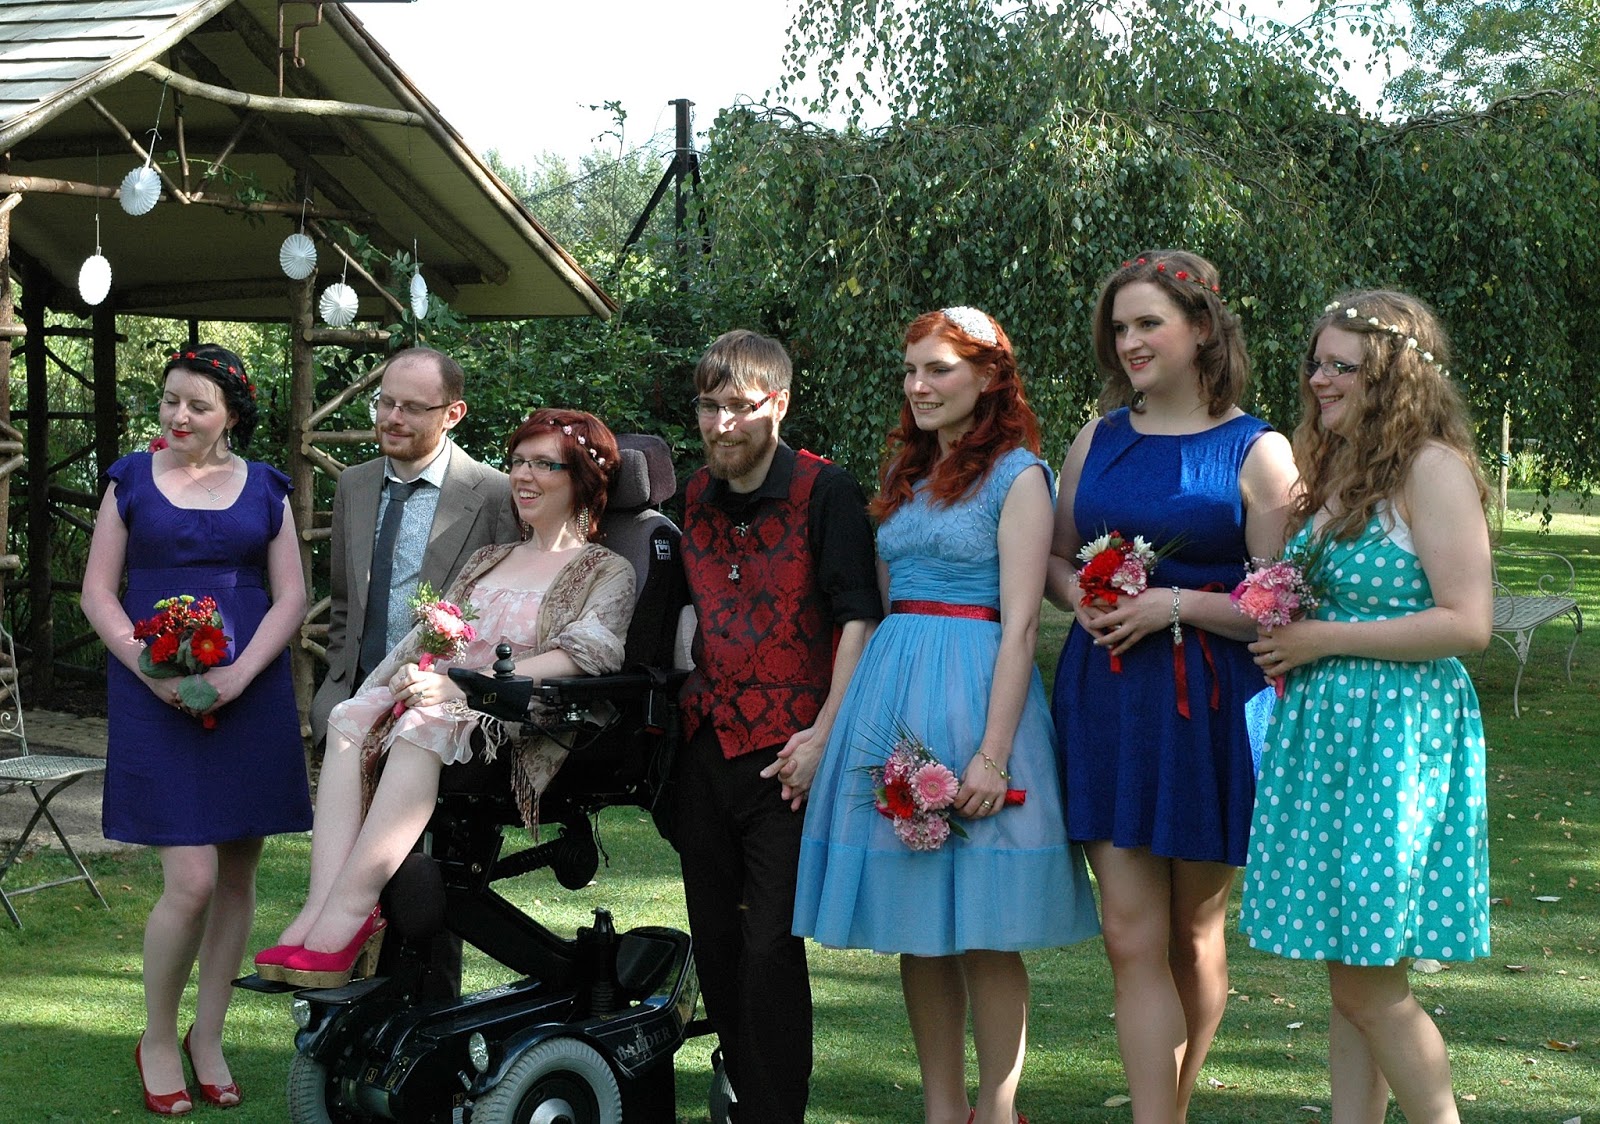
Bridesmaids, Best Man, Bride and Groom
 The four bridesmaids (that's me on the end and a sneak peek of my finished Apple dress) didn't have a dress code, we just wore what we liked (though some coordinated in advance!) and we had sweet flower crowns and bouquets too.
 They had looooads of pretty and colourful decorations hung everywhere around the venue and I love this picture of lanterns, fans and birdies!
 Th tables were named after mythical creatures and we were on the Dragon table roar!!
 Kylie hand made the glittery stars and the chiffon fabric really made it feel magical without blocking all the light.  We had fabulous BBQ food served family style and I loved the roasted peppers and homemade coleslaw.
 There were lots of garden games including mini golf and, of course, jenga and there were so many little photo op places around the grounds, see the bench with lanterns behind?  These lit up at night and there were fairy lights everywhere.  It was so magical!
 As you can see Kylie is a really good sport and we just had to take a few photos are the place, there are many more like this (one of a crazy dwarf beard that appeared during some manic dancing) we all had a brilliant time and I can't wait to see Kylie and Matt again soon.


Thursday, 25 April 2013

Red New Girl Dress - Finished!


I finished my dress!  I actually completed it in time to wear it to the meal the day before the wedding I went to at Easter.  I didn't have enough time to make a dress for the wedding itself as I had intended but at least I got this one done.  Once I had put the skirt in I realised the weight of it meant the bodice fit was off.  Luckily I remedied this by pinching out a wedge of fabric at the neck to shoulder seam which pulled all the darts back into position as if by magic!  This did reduce the size of the neckhole though (which I didn't think about at the time) so it is a little snug to get on and off.  

 I am really happy with how it turned out.  I decided to make the capped sleeves in the end and now I am glad I did as I think they balance out the skirt portion.  The skirt itself is a half circle skirt that I drafted using a really useful tutorial on the Snug Bug Blog and she even has a handy dandy circle calculator!  I have lined the skirt too as I thought it would give it a bit of body and I really love the result.  I do need to take the lining hem up a little as it does occasionally peek out but that is no big deal.
Back view
 I had real trouble getting the side zip in this one.  The fabric and lining meant it was so thick that my zipper foot kept slipping off the guideline of the zip and stitching through the teeth.  Not good.  In the end I hand sewed the zip and it turned out much better than when I do them by machine!  I think this might be my new way forward.  I hate zips but love hand sewing so maybe I can combine the two.
You can't really see the bodice sections in these photos, but they do show up better in real life.  I had to adjust the brightness as it has rained ALL DAY today and I couldn't wait any longer to take pictures.  The actually dress I made is quite different than the New Girl one but I think my version is more wearable and the bright red has really cheered me up on such a miserable day.  I can see myself making this pattern up again, I really think it would look great with a contrasting colour fabric in the bodice side sections and with a pencil skirt.  Oh the possibilities!

Sunday, 18 September 2011

Vintage Vogue Re-issue Summer Dress - Finished!

I want to add a 'finished at last' to this as it seems to have been a long project with multiple posts but if you are still there after reading them, now you actually get to see the final thing!

Front of dress
Back of dress
I did have one major problem with this dress when I attached the top to the skirt I realised that my buttonholes were not lined up.  In fact they were way out.  I may have had a frustrated little cry at this point as I just could not see any way past and I thought it was ruined.  The fabric must have slipped and I must have measured wrong but there we are.
Icky skirt buttonholes that don't match the top!
I couldn't re-do them without re-making that whole panel of the skirt which would mean a heck of lot of unpicking and detaching of the lining and re-sewing the pleats so in the end I decided I could chalk it up to a learning experience and find some way to go with it.  I was thinking of putting a line of buttons down the opposite side on a parallel slant which didn't look too bad when I pinned them on to try.  Sam, my boyfriend, then pointed out that it would look like a giant arrow pointing right to the lady parts. Not cool.  I considered using clear buttons to make it more noticeable but again he said that he thought they would stand out more, having two different colours on the dress.  He them suggested just leaving them as they are (without making them into actual buttonholes as I haven't slit the lining) and using poppers on the inside.  This is what I have done, and to be honest, when I have this dress on I really don't notice them that much.  Yay!
Front with successful buttons
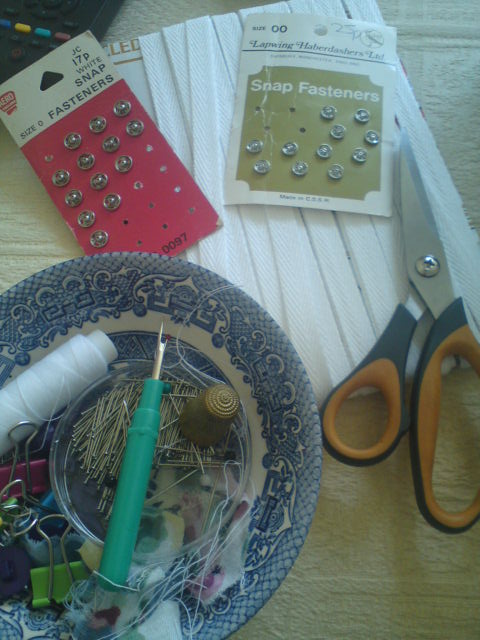
Hand stitching materials
After that it was a lot of hand sewing.  Hand sewing the lining top and bottom around the waistline, hand sewing all the facings on the buttons and buttonholes, hand sewing the lining to the bound buttonholes and hand sewing some bra snaps.  In the reviews of this pattern many people had said that it was difficult to keep it from falling off their shoulders so I used some twill tape and snaps to make a little thingy to hook it on to my bra straps.  This means it won't fall off  (hopefully) and also stops straps from showing, win win!
Bra attachment
Then it was just hemming time and there we go!  A few more gratuitous dress shots as I just love it!

The cute low back
Excuse the face, I forgot at this point that the seat here is loose and made a huge creak when I sat down!
Lastly, some picture of my lining which I think shows up the pleats better, they are hard to see in the main print.
Front

Back
How cute is this combo of tights and shoes?!  Never tried this before, I like it!
If anyone has any tips for making sure buttonholes and buttons are straight please let me know as I think I need it!

Wednesday, 15 June 2011

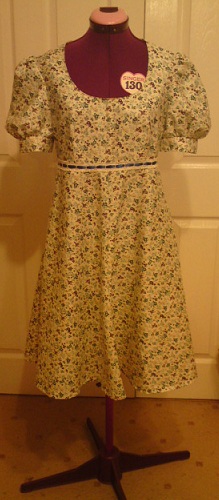
My 1975 Ditsy Floral Dress -Finished!

I have finished my dress :)  This makes me happy!  I am off camping this weekend so I knew I wouldn't have a chance to work on it so it has just been little bits here and there and I managed to hem it this morning.
Front view
The sleeves are puffier than I first thought but I like it though they are a little tight even with reducing the seam allowance.  I added the lace trim that I bought at this years Sewing for Pleasure and threaded a blue ribbon through it to make it stand out.  I think it breaks the dress up a bit and it means that I won't have to wear an uncomfortable belt with it. 
Back view
The lace is very slightly out of line on the zip but not enough to make me want to re-do it.  I added some of the spare blue ribbon at the top of the zip instead of using a hook and eye as I think the little bow is cute.
Sweet puffy sleeves
Ribbon and lace combo
I actually managed to get and ok-ish, though not smiling, picture of me in it, I'm feeling that '70's vibe!
I was going to shorten it a fair bit more as I usually like my dresses above the knee but when I tried it on before hemming I quite liked the length so I have kept it.